Everyone knows that CT scans deliver more radiation than conventional x-ray. But how much does each test really deliver? And how significant is that?
Let me try to put it all into perspective. First, how much radiation are we exposed to just living outside the hospital? Background radiation is everywhere. It consists of radioactive gases (argon) in the air we breathe, radiation from the rocks and other things around us, and cosmic rays blasting through us from space.
In the United States, the average background radiation each of us is exposed to is about 3.1 milliSieverts (mSv). I’ve compiled a table to show the approximate dose delivered by some of the common radiographic studies ordered by trauma professionals. And to keep it real, I’ve calculated how much extra background radiation we would have to absorb, in units of time, to have an equivalent exposure.
Read and enjoy! Remember, doses may vary by scanner, settings, and dose reduction measures used.
| Test | Dose (mSv) | Equivalent background radiation |
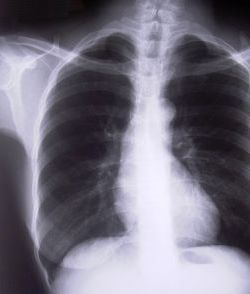
| Chest x-ray | 0.1 | 10 days |
| Pelvis x-ray | 0.1 | 10 days |
| CT head | 2 | 8 months |
| CT cervical spine | 3 | 1 year |
| Plain c-spine | 0.2 | 3 weeks |
| CT chest | 7 | 2 years |
| CT abdomen/pelvis | 10 | 3 years |
| CT T&L spine | 7 | 2 years |
| Plain T&L spine | 3 | 1 year |
| Millimeter wave scanner (that hands in the air TSA thing at the airport) |
0.0001 | 15 minutes |
| Scatter from a chest x-ray in trauma bay when standing one meter from the patient |
0.0002 | 45 minutes |
| Scatter from a chest x-ray in trauma bay when standing three meters from the patient |
0.000022 | 6 minutes |