“When the facts change, I change my mind. What do you do, sir?”
This is a famous quote from John Maynard Keynes. (Or is it? There is some debate over its authenticity, but you get the idea it tries to convey.) Our knowledge base continually changes, so we must be willing to change our minds (and practices) based on new, reliable information.
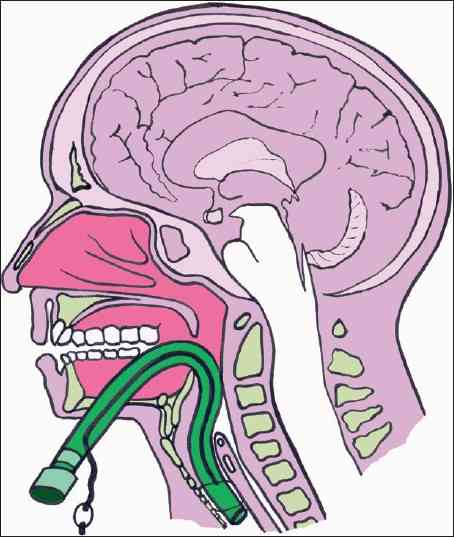
The management of penetrating neck injury is one of those facets in trauma care that has undergone slow but steady progress over the past 40 years of my career. In the old days, we quickly identified the zone of injury and proceeded to the operating room for Zone II injuries. We had to think a little harder about the other zones to be certain that we needed to be in the OR. But overall, the threshold for surgery was low.
Things have been changing. Five years ago, I published a post detailing new work by Inaba et al. at LAC+USC. This started a move toward using more straightforward criteria and advanced imaging to assist decision-making with these injuries.
In this post, I’ll summarize the original paper. In the next section, I will describe the group’s paper, which is currently in press and outlines the full framework for workup or penetrating neck injury.
The advance that makes this new method possible is based on the high degree of accuracy that CT angiography of the neck provides. It is very sensitive for identifying even minor injuries to the aerodigestive tract and vascular system.
The trauma group at LAC+USC organized a prospective, multicenter study using a multidetector CT angiography of the neck for initial screening of penetrating neck injury. This allows the evaluation of the neck as a single unit, not as three zones. It also solves the problem of trying to apply zones to injuries that cross several of them.
The new algorithm that was tested utilized an initial physical exam, first looking specifically for “hard signs” of injury. The following were considered the hard signs:
- Active hemorrhage
- Expanding or pulsatile hematoma
- Bruit or thrill over the injured area
- Unresponsive shock
- Hemoptysis or hematemesis
- Air bubbling from the wound
These patients were immediately taken to the OR and explored through an appropriate incision.
Patients with no signs or symptoms were admitted and observed for at least 24 hours. All other patients were considered to have “soft signs.” They underwent multidetector CT angiography of the neck, with a scanner having at least 40 slices. Further evaluation of these patients was based on the exam and CT scan.
Here are the factoids:
- 453 patients with penetrating neck injuries were identified during the 31-month study period
- 9% had hard signs and were taken to the OR; 50% had soft signs and underwent CT; 41% had no signs and were observed
- For soft sign patients, 86% of scans were negative, and all were true negatives after observation
- 12% of soft sign patients had a positive scan, and of those, 81% were true positives
- four patients (2%) with soft signs had too much artifact for an accurate CT, and other tests were performed; 1 of the 4 had an injury
- Sensitivity of CTA was 100%, and specificity was 97.5% in the soft sign patients
- The authors concluded that CTA is very reliable for identifying injuries in patients with soft signs and that patients with no signs do not require scanning, only observation
Bottom line: This was an intriguing paper that utilized both physical examination and CT angiography. The results were impressive, and they supported the argument that CTA is not required in all stable patients. With additional numbers and time, it has become clear that we can safely adopt this algorithm. My next post will flesh out the details.
Reference: Evaluation of multidetector computed tomography for
penetrating neck injury: A prospective multicenter study. J Trauma 72(3):576-584, 2012.