Although posterior hip dislocation is an uncommon injury, the consequences of delayed recognition or treatment can be dire. The majority are caused by head-on car crashes, and 90% of these are posterior dislocations. The femoral head is forced across the back wall of the acetabulum, either by the knee striking the dash, or by forces moving up the leg when the knee is locked. This occurs most commonly on the right side when the driver is standing on the brake pedal, desperately trying to stop.
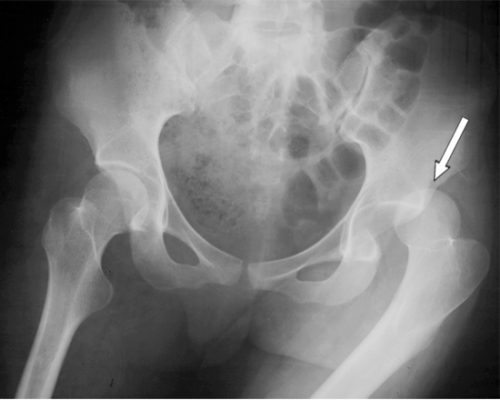
On exam, the patient presents with the hip flexed, internally rotated and somewhat adducted. Range of motion is limited, and increasing resistance is felt when you try to move it out of position. An AP pelvic X-ray will show the femoral head out of the socket, but it may take a lateral or Judet view to tell if it is posterior vs anterior.
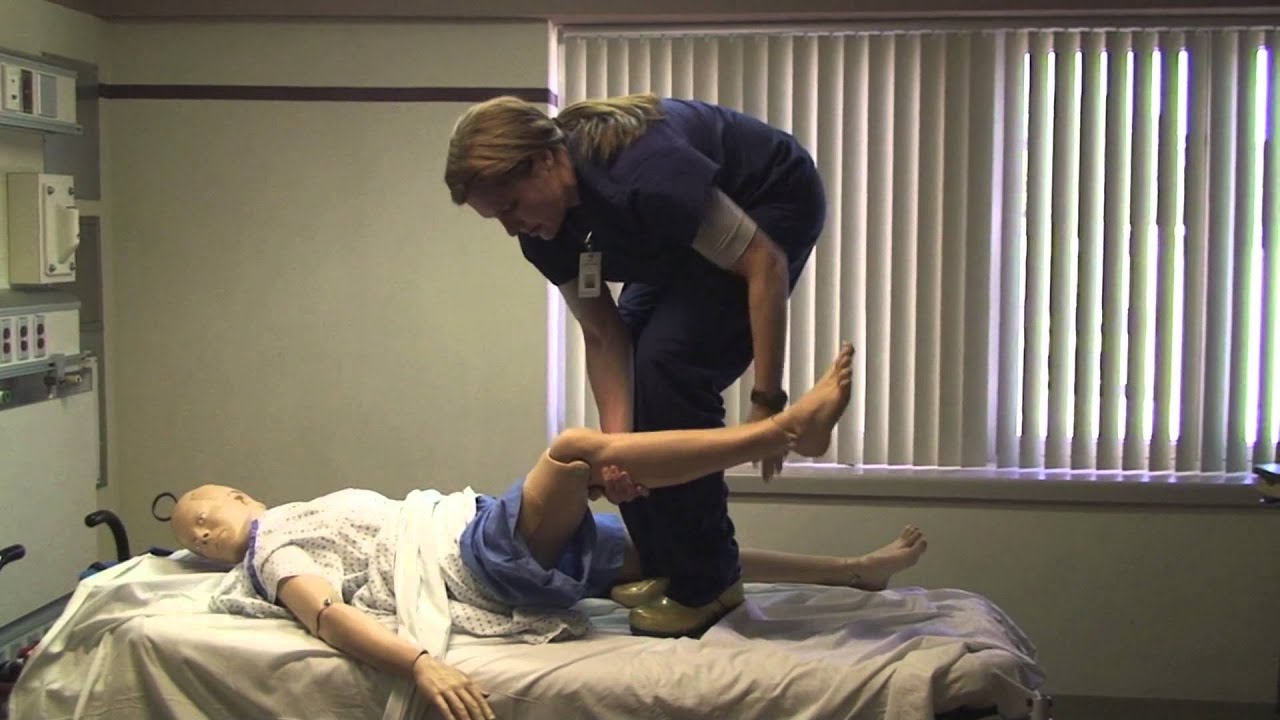
These injuries need to be reduced as soon as possible to decrease the chance of avascular necrosis of the femoral head. Procedural sedation is required for all reductions, since it makes the patient much more comfortable and reduces muscle tone. The ED cart needs to be able to handle both the patient’s weight and your own. I also recommend a spotter on each side of the cart.
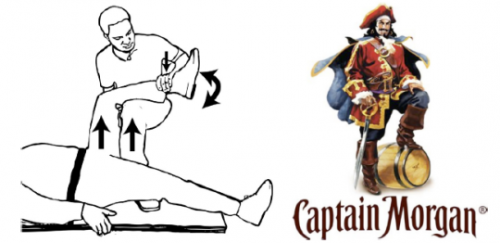
Standing on the cart near the patient’s feet, begin to apply traction to the femur and slowly flex the hip to about 90 degrees. Then gently adduct the thigh to help jump the femoral head over the acetabular rim. You will feel a satisfying clunk as the head drops into place. Straighten the leg and keep it adducted. If you are unsuccessful after two tries, there is probably a bony fragment keeping the head out of the socket. I will show an instructional video on this technique in my next post.
Regardless of success, consult your orthopedic surgeon for further instructions. And be sure to thoroughly evaluate the rest of the patient. It takes a lot of energy to cause this injury, and it is flowing through the rest of the patient, breaking other things as well.